
 Gridbox Pro
How to make custom Gridfinity bins without CAD.
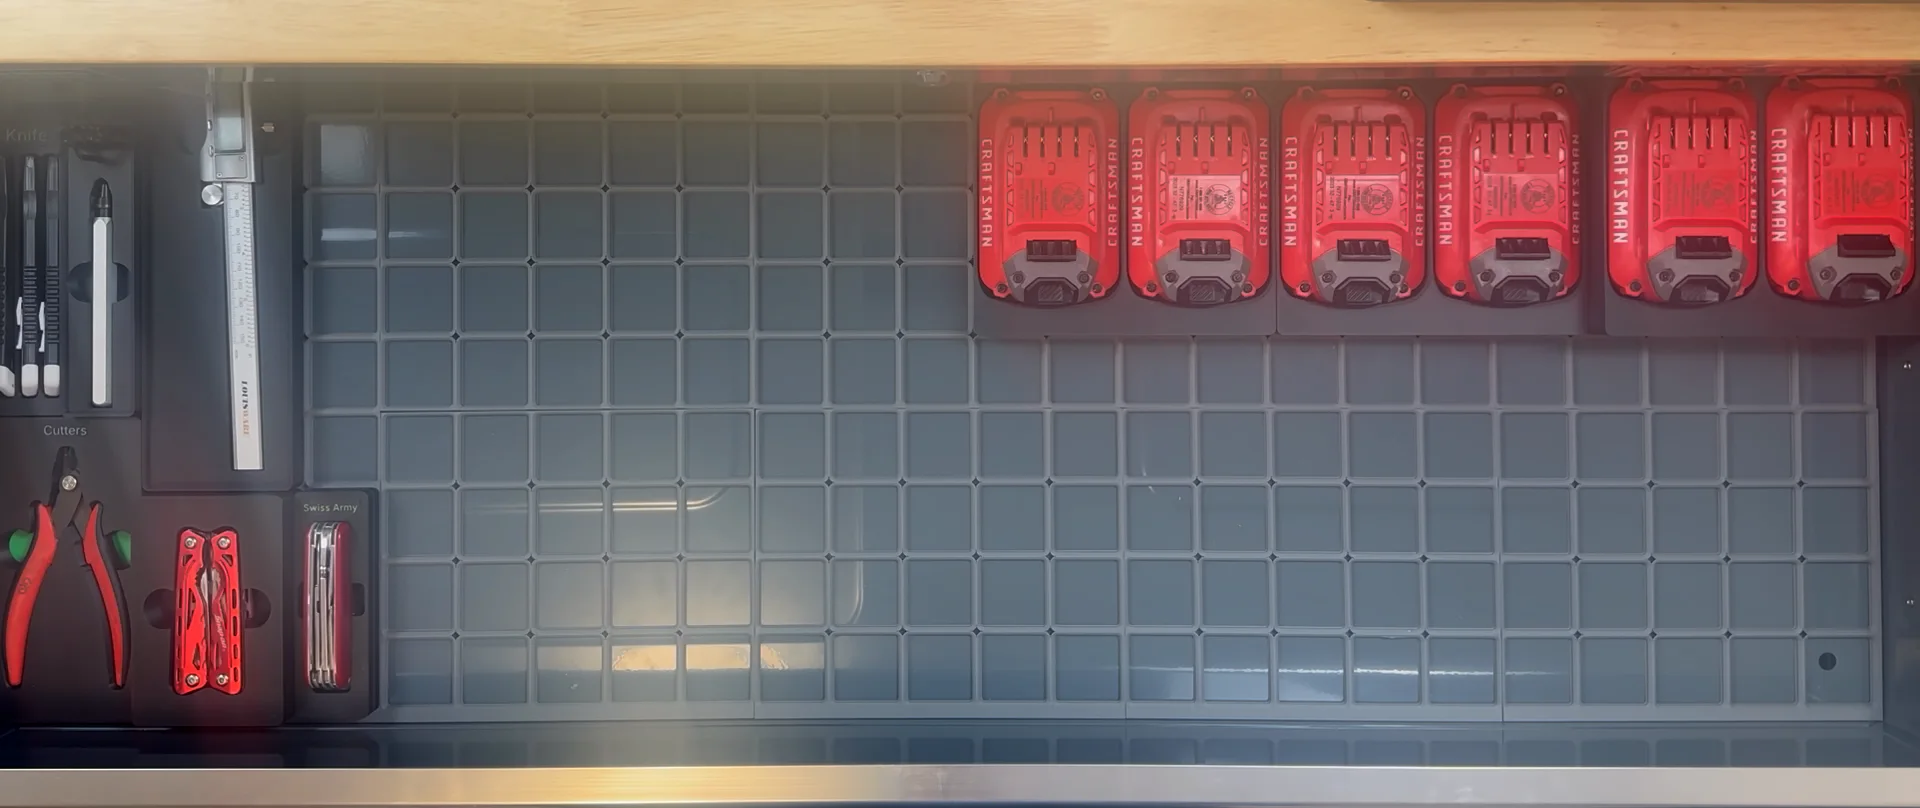
Gridfinity is a free, open system of 42 mm grid bins for organizing drawers with a 3D printer. A plain bin is easy to make, because you pick a size and print it. A bin shaped to your own pliers or sockets is harder, and it usually means an evening in CAD or settling for a bin that's close.
You can get a shadowbox that fits the first time with your phone, the free scaler tile and, if you have one, a digital caliper.
What you need
- A 3D printer and a slicer that opens 3MF or STL files, which is almost every slicer.
- Your phone's camera.
- The scaler tile, a free file you print once from Gridbox Pro, or a sheet of paper, so the app knows the scale of the photo.
- A digital caliper if you want the fit exact. The outline is close without one.
- Gridbox Pro, which is free to design with on Mac and Windows.
1. Photograph each tool next to the scaler tile
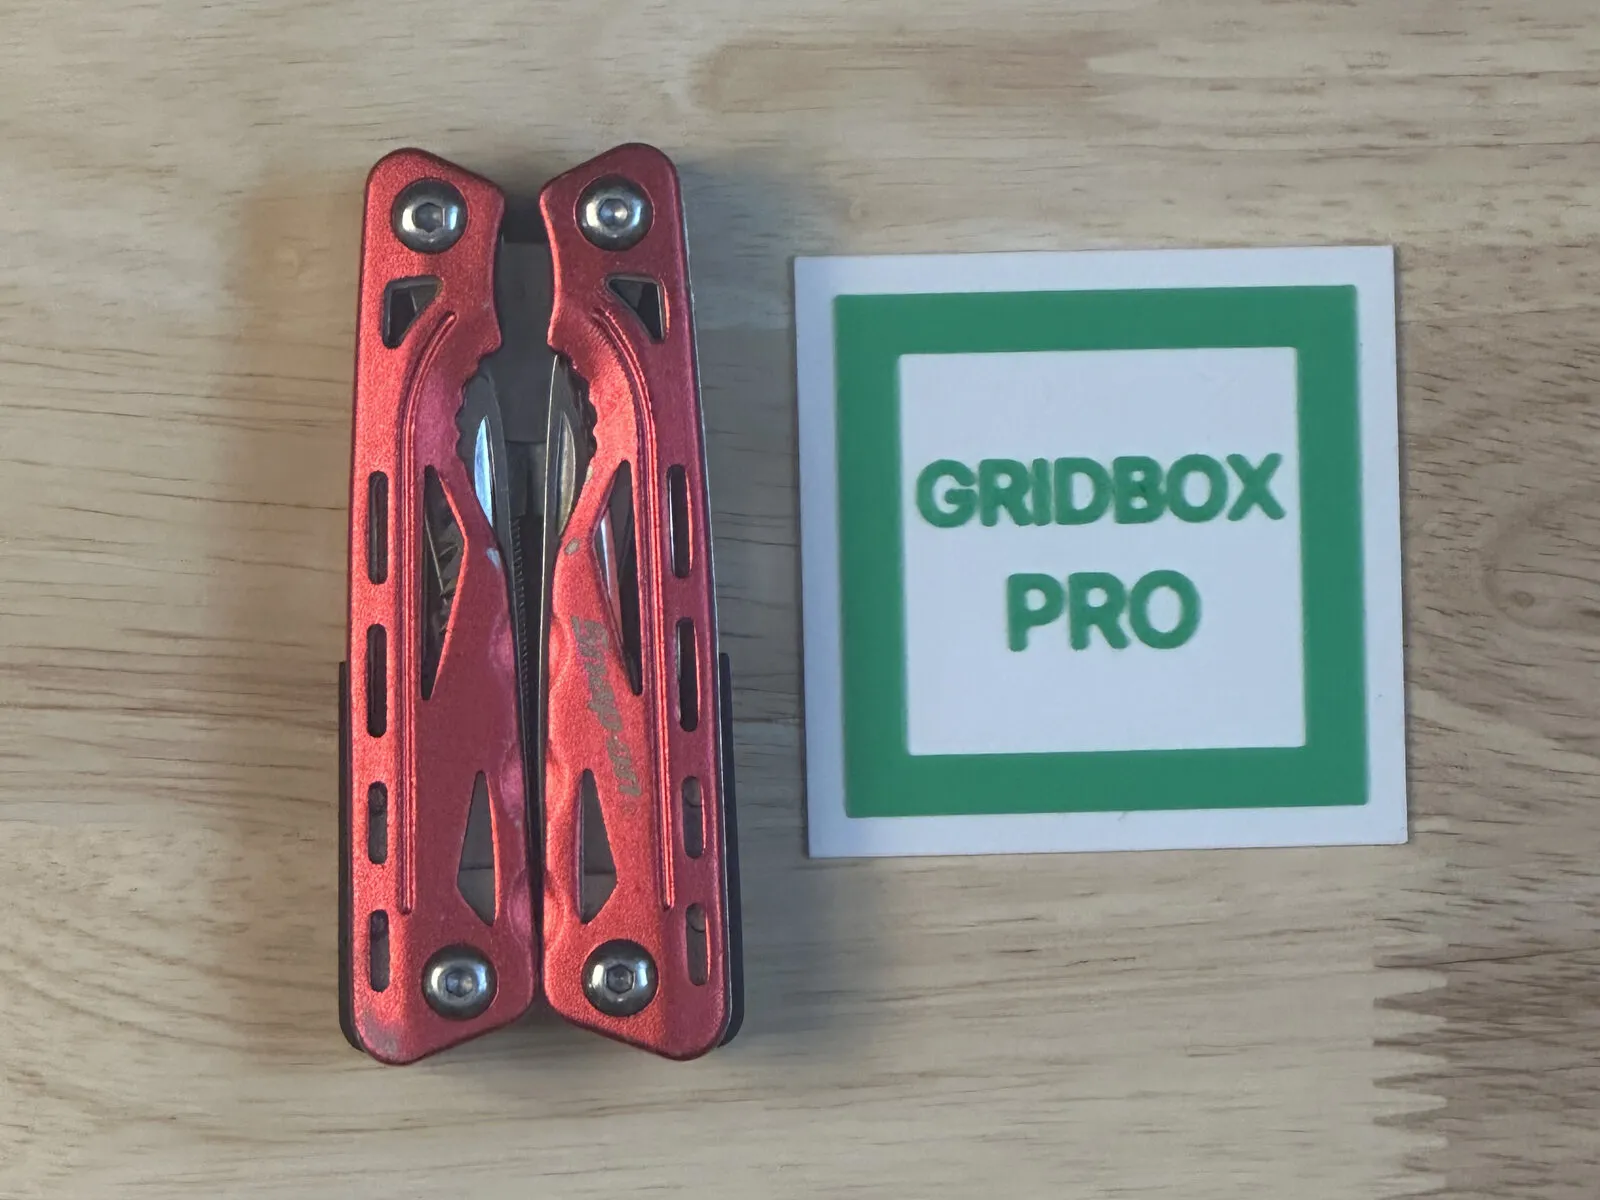
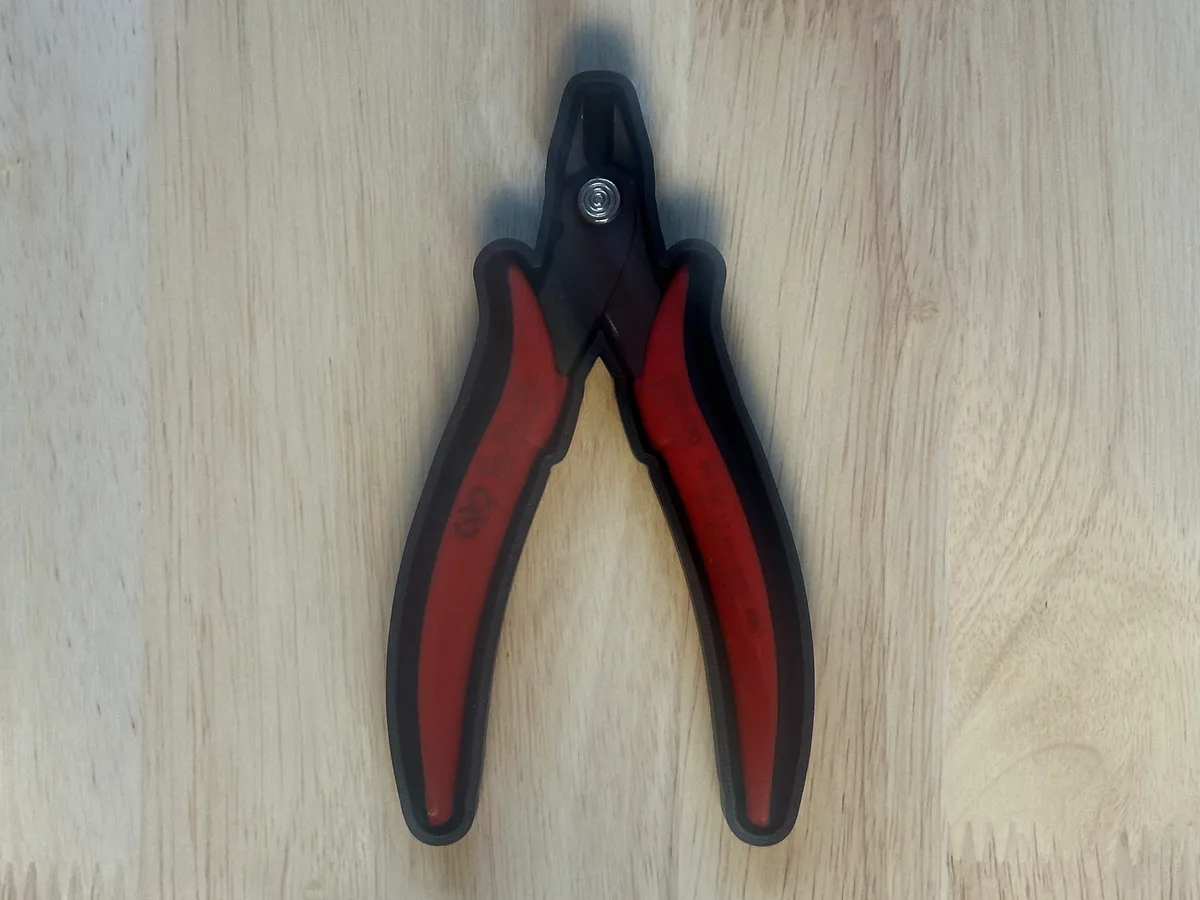
Take one photo per tool. Lay the tool flat next to the scaler tile, or on a sheet of paper, and shoot from straight above. Stand back and zoom in, because up close a tall tool looks bigger at the top than at the base, and Gridbox Pro tells you when a photo was taken too close.
Soft, even light works better than bright light, because a hard shadow can look like part of the tool. A window on a cloudy day or a shop light off to the side both work well.
2. Set the scale
Open Shadowbox and choose your photo. Click the four corners of the paper, or put the scaler tile in the shot and let Gridbox Pro find it, and the app works out how big everything is. If the photo was taken too close for the tool, the app tells you how far back to stand.
Then enter the height of your tallest tool. Gridbox Pro uses it to fine-tune the scale and to set how deep each cutout goes.
3. Check the outline
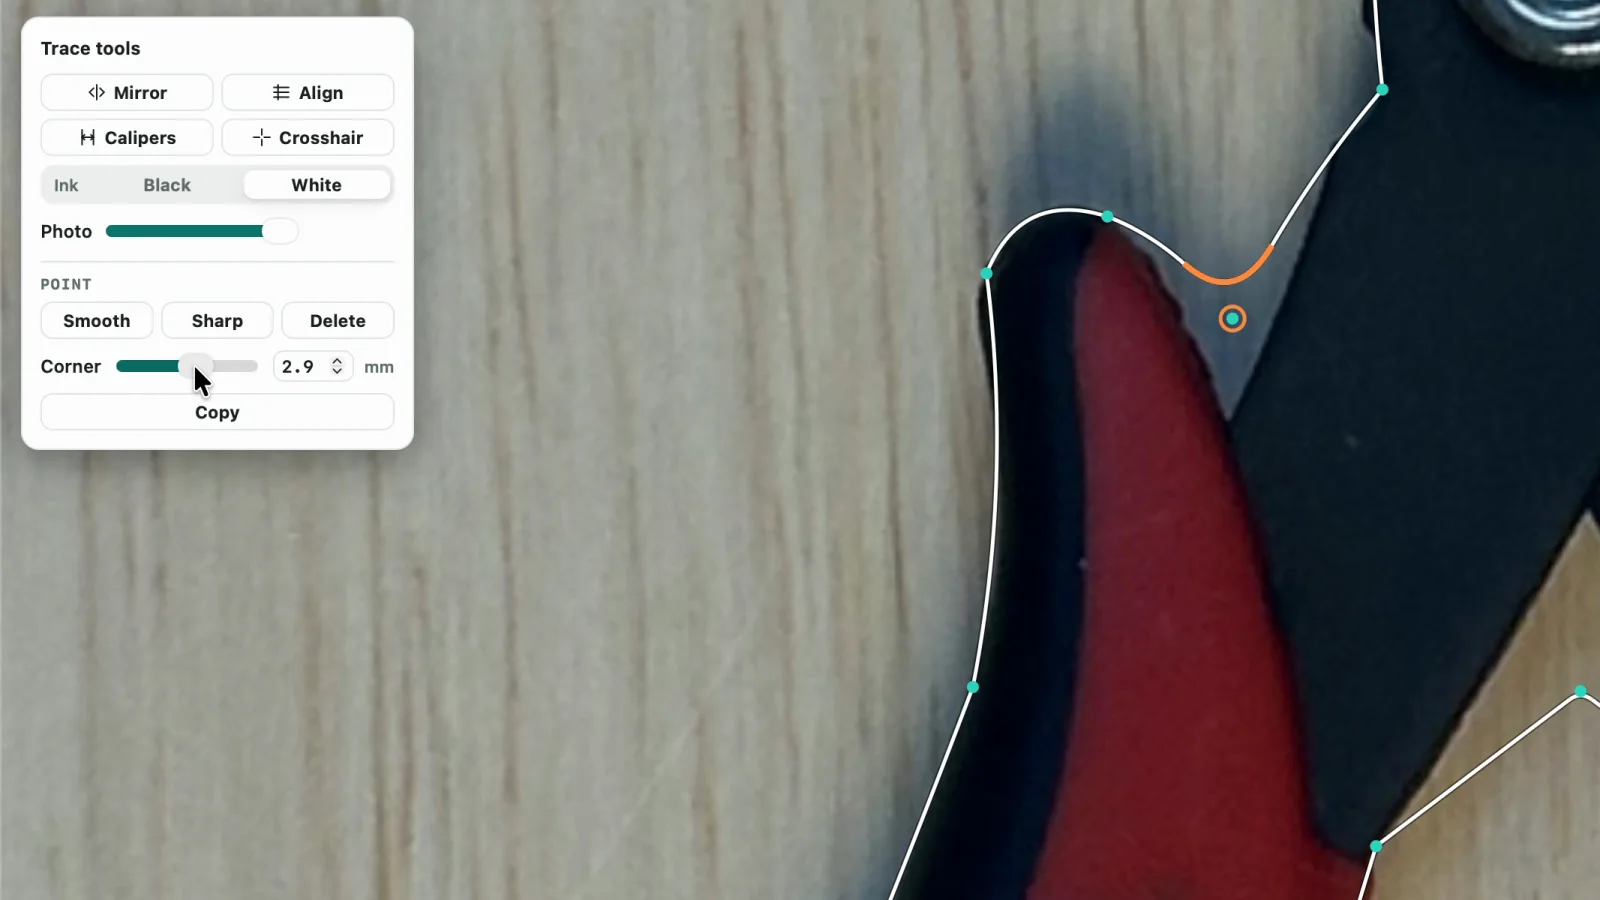
Auto trace outlines the tool for you. Look it over, and if it clipped a corner or picked up a shadow, drag that point to where it belongs. Click any point to round it with the Corner slider, smooth it into a curve, or delete it. The outline stays editable for as long as you keep the project, and you don't have to get it perfect before you move on.
4. Use your calipers for an exact fit
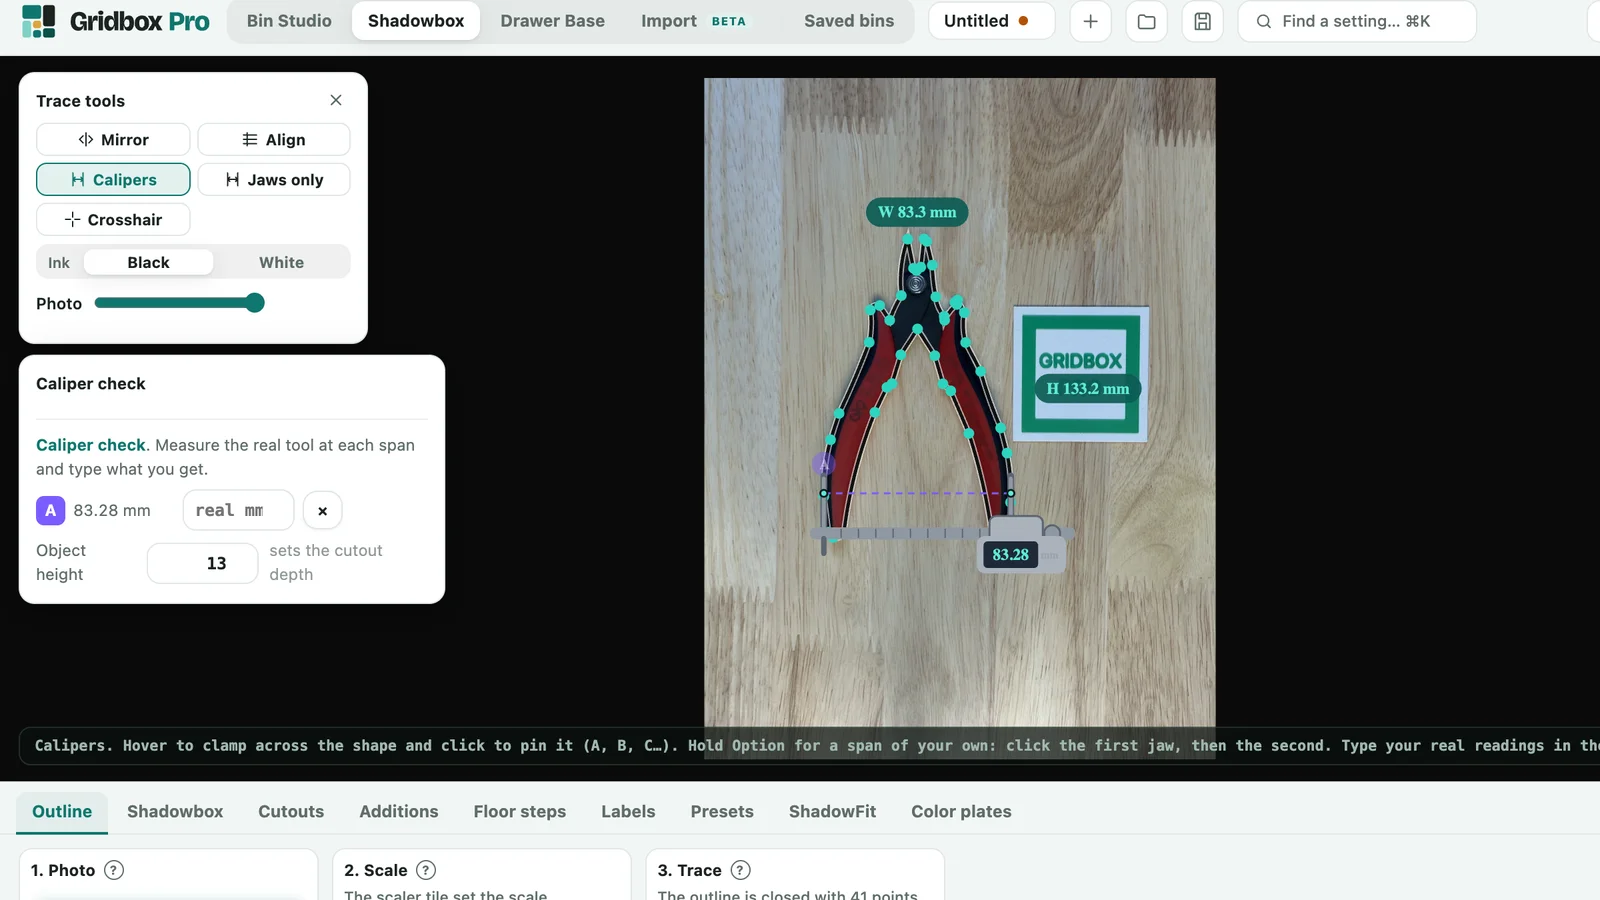
Measure the widest part of the real tool with your calipers. In the app, pin a span across the same spot on the outline and type in your reading, and Gridbox Pro shows how far off the outline is and which way. Pin a second span, and Fix the scale rescales the outline to match.
One reading per tool, on the part that matters most for the fit, is usually enough.
5. Shape the cutout for your hand
A cutout that matches the tool exactly can make the tool hard to get out, so add finger holes where your thumb and finger go. If a tool is tapered, add a floor step so it sits level. These are settings on the cutout, so you can change them later without redrawing anything.
6. Print a ShadowFit test first
A full shadowbox can take eight hours to print. ShadowFit makes a thin test piece with the same cutouts, and it prints in under two hours. Drop your tools in, and if one is tight, adjust that outline. Then print the full shadowbox once everything fits.
7. Export for your printer
Pick your printer so you can see which part of the bed it can reach, and export a 3MF or STL file. If the shadowbox is bigger than your bed, SnapSplit splits it into pieces that fit and join back together with printed pins or magnets. Your slicer's regular PLA settings work fine, because a shadowbox doesn't need extra strength.
Saving files out of the app, like this export, needs a license, and it's $130, one time, at launch. Everything before it is free.
Five mistakes that waste a print
- Shooting at an angle. The outline follows the photo, so an angled shot gives you an angled cutout. Shoot from straight above.
- Shooting too close. A tall tool looks bigger at the top when the phone is close to it. Stand back at least twice the height of your tallest tool.
- Hard shadows. A shadow can look like part of the tool. Use soft light, or move the tool out of the glare.
- Skipping the calipers. The outline is close without them, and one reading per tool makes it exact.
- Printing the full shadowbox first. A ShadowFit print takes under two hours and shows you every tight cutout before the long print starts.
Download Gridbox Pro, take a photo of what goes in the drawer that bothers you most, and see the shadowbox before you print anything.