
 Gridbox Pro
Making a shadowbox from a photo
Taking the photo
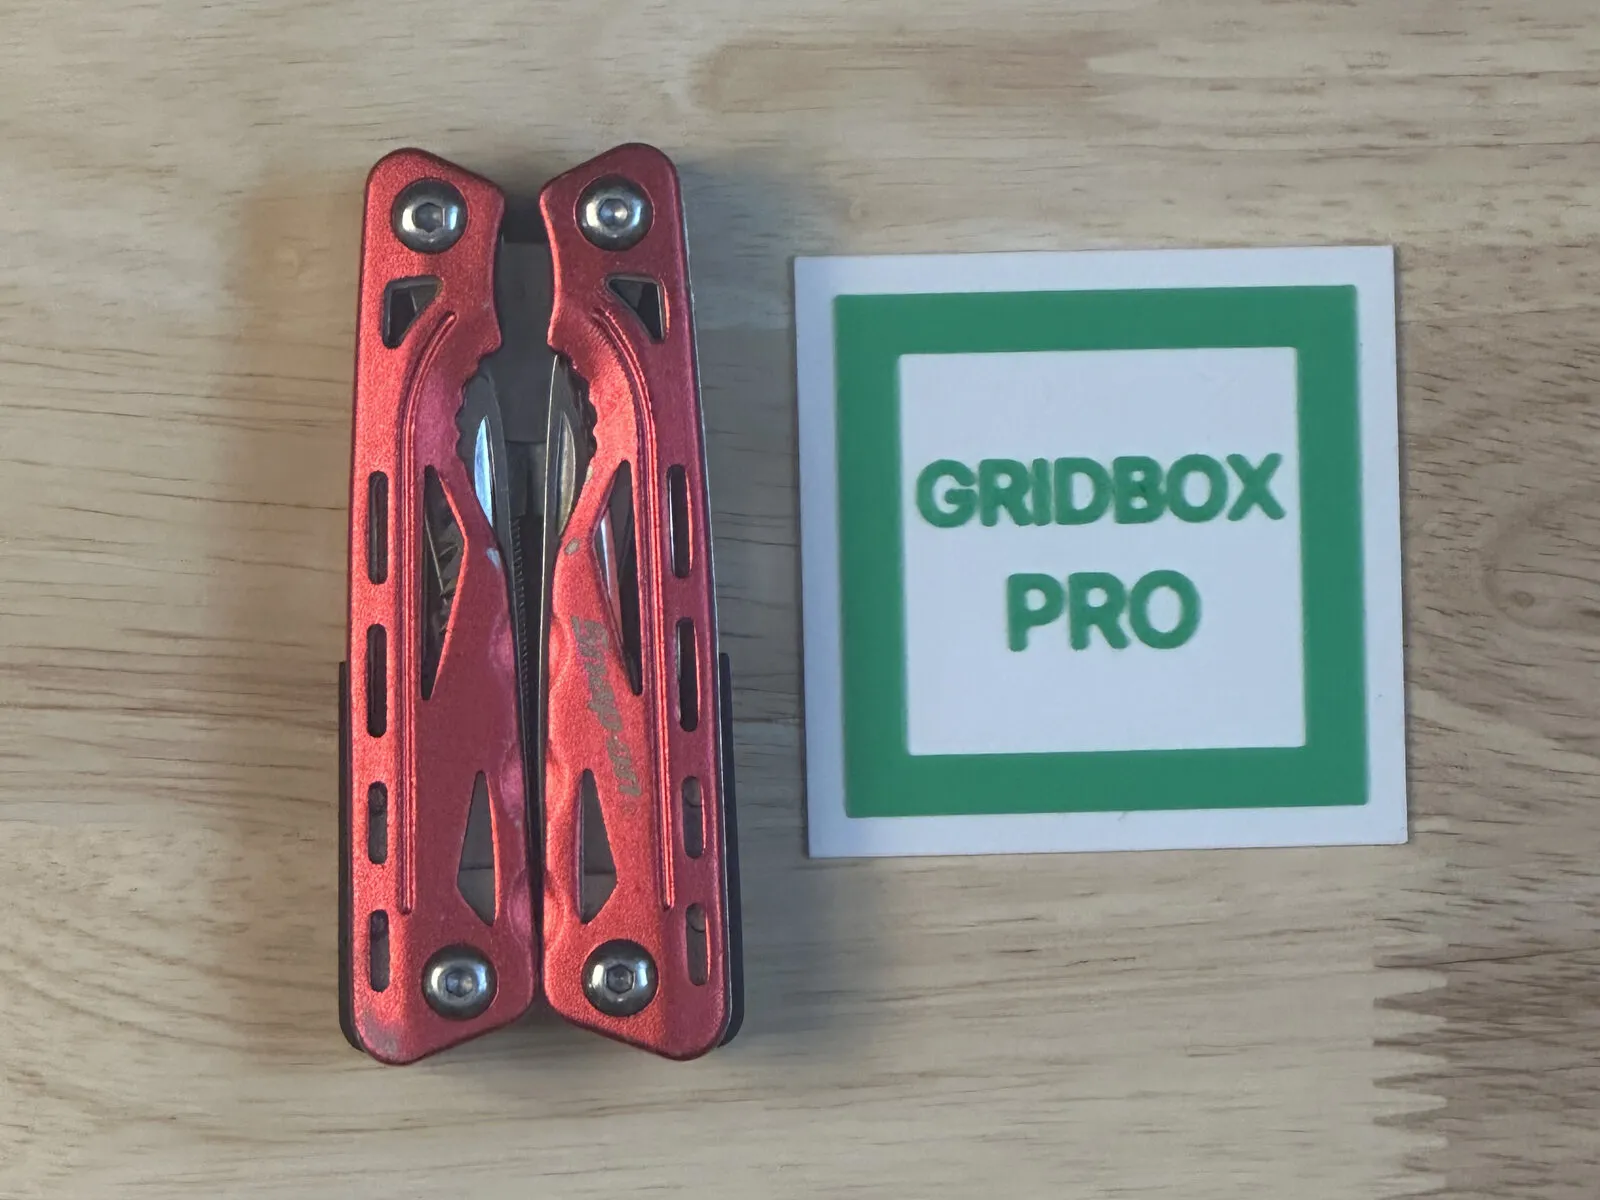
Take one photo per tool. Lay the tool next to the scaler tile, or on a sheet of paper, and shoot from straight above in soft light. Stand back and zoom in, and if the photo was taken too close, Gridbox Pro tells you how far back to stand.
Setting the scale
Click the four corners of the paper, or let Gridbox Pro find the scaler tile on its own, and then enter how tall the tool is. Gridbox Pro never stretches or rotates your photo on its own. The tile or the paper sets the scale, the height fine-tunes it, and your calipers confirm it.
Checking the outline
Auto trace finds the tool with an AI model that runs on your computer and draws its outline, and you can drag any point. A half-finished outline saves with the project, and you can stop and come back to it. Add another tool starts the next tool from a new photo.
Shaping the cutouts
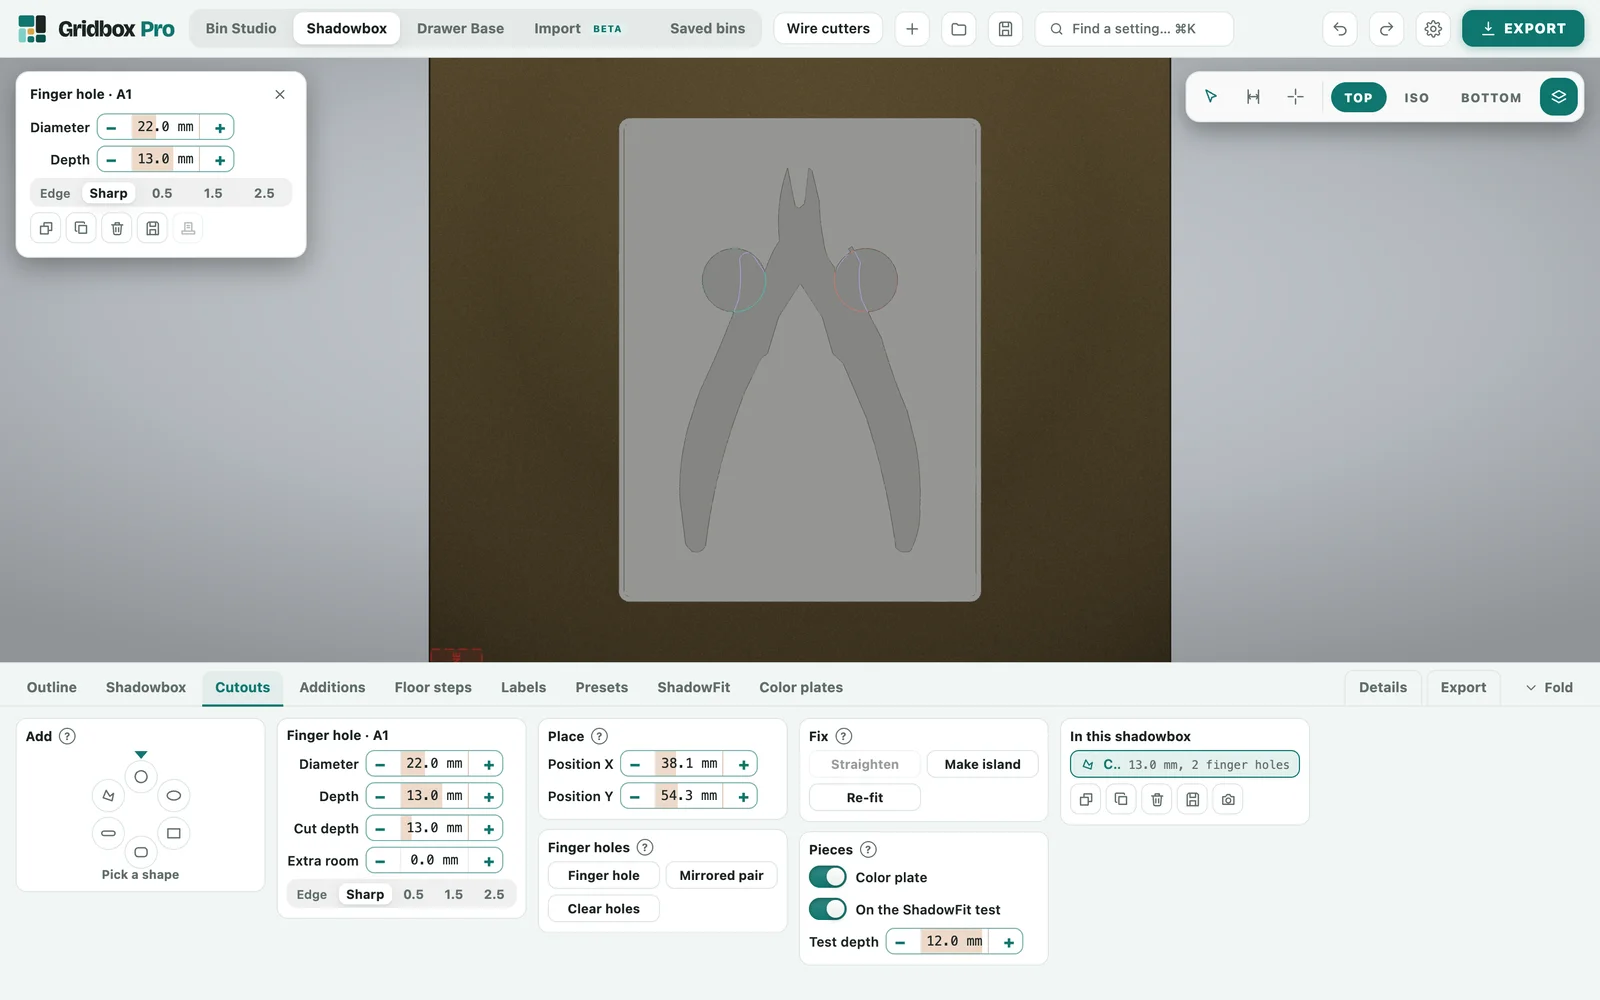
After tracing, Gridbox Pro asks how tall each tool is and sets the cutout to that depth. Add finger holes so the tool lifts out easily. On the Floor steps tab, you can give a tapered tool a step or a ramp so it sits level, and a cutout can sit on top of an addition.
Color plates
Every traced cutout gets a thin floor plate shaped like it, which you print in an accent color and drop in. It exports as a file of its own, and you can switch it off for any cutout.
Paper templates
Shadowbox also exports a full-size paper template of your outlines, which you can use to cut foam by hand.